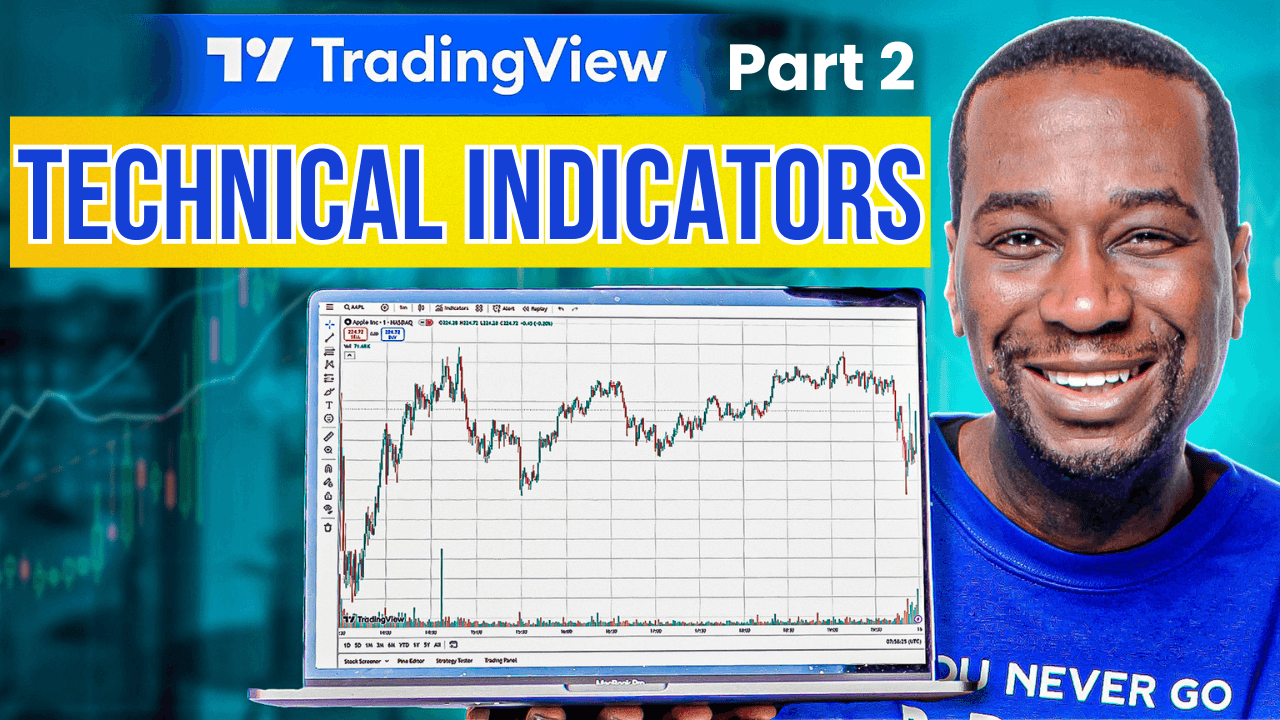
Mastering TradingView: Setting Up Technical Indicators for Optimal Trading
In part 1, we went over how to customize your chart settings. Now, we're diving into how to set up technical indicators in TradingView. If you ever wondered how to set up key technical indicators like moving averages, Bollinger Bands, and the MACD, you're in the right place. In this episode, I'll guide you step-by-step on how to customize these indicators to fit your trading style, how to save them as templates, and how to quickly switch between them to streamline your trading process.
Create a free or paid account with TradingView: CREATE AN ACCOUNT HERE
Video Time Stamps:
[00:00:41] Personal Trading Setup and Naked Chart
[00:01:46] Adding Bollinger Bands
[00:02:52] Customization of Bollinger Bands
[00:04:55] Adding and Customizing MACD
[00:06:36] Saving Chart Layouts
[00:07:31] Complete Bollinger Band and MACD Customization
[00:10:42] Setting Up the MACD Indicator
[00:16:27] Adding and Customizing Stochastics
Getting Started: The Naked Chart Concept

First, I like to start with what I call a "naked chart." This simplicity allows you to see just the price action and volume, eliminating any distractions. A naked chart features no technical indicators, just pure price movement. For a more in-depth look at how to create your settings, check out our previous video linked in the description.
Customizing Bollinger Bands for Precise Trading


To add Bollinger Bands, click on the indicator option at the top. You'll find several types, but let's stick to the basic Bollinger Bands. Once added, we can customize them by clicking the settings button. Personally, I prefer an 18-length moving average with two standard deviations. For better visual clarity, I make the upper and lower bands blue and adjust the thickness. Don't like the background color? Simply uncheck it for a cleaner look.
Setting Up the MACD Indicator

Adding MACD is similar. Just type in MACD in the indicator search, and add it below the chart. Customization is key. I modify the histogram colors to green for bullish and gray for bearish trends. The signal lines can be thickened and color-coded for better readability. Once you’re satisfied, save this layout under a memorable name like "Bollinger Band and MACD" for quick access.
Multi-Period Moving Averages
For moving averages, we need three exponential moving averages (EMA) and one simple moving average (SMA). Set the first EMA to a 10-day period and make it turquoise. The second EMA is a 20-day period in green, and the third is a 50-day period in blue. The SMA, set at a 200-day period, should be red. These colors help differentiate each line clearly on your chart.

After setting these up, save your template. Naming conventions are crucial; use "Moving Average Setup" to prevent confusion. This way, you can quickly toggle between default and custom setups using the four-dots menu at the top.
Configuring Stochastics for Insightful Trends

Stochastics are incredibly useful for identifying overbought and oversold conditions. Add this indicator from the list and customize it similarly. Typically, I remove the background and middle bands for a streamlined appearance. Adjust color settings based on your preference to distinguish between %K and %D lines.
Want More Tutorials?
If you enjoyed this tutorial or are looking to continue learning the systems, I suggest checking out my playlist I made on YouTube. There, I cover several different platform tutorials, including TradingView on the app version. Check it out by clicking the button below: